
When a Tensile Test Gives the Wrong Answer
Understanding the Factors That Influence Tensile Test Results

Simple Test, Hidden Errors: Why Tensile Results Go Wrong
A tensile test looks simple: grip the specimen, pull it, record the curve. That simplicity is why errors go unnoticed. A result can look perfectly plausible and still be wrong by several percent.
Most disputed tensile results have little to do with the material. They come from the specimen, the setup or the measurement chain. This article walks through those factors in the order a laboratory should check them.
1. Start with the specimen
Specimen preparation is the most common source of scatter, and it happens before the machine is even switched on.
- Machining damage. Heat or heavy cuts can work-harden the surface and raise yield strength artificially.
- Surface finish. Tool marks and scratches in the gauge length act as stress raisers and can trigger early fracture.
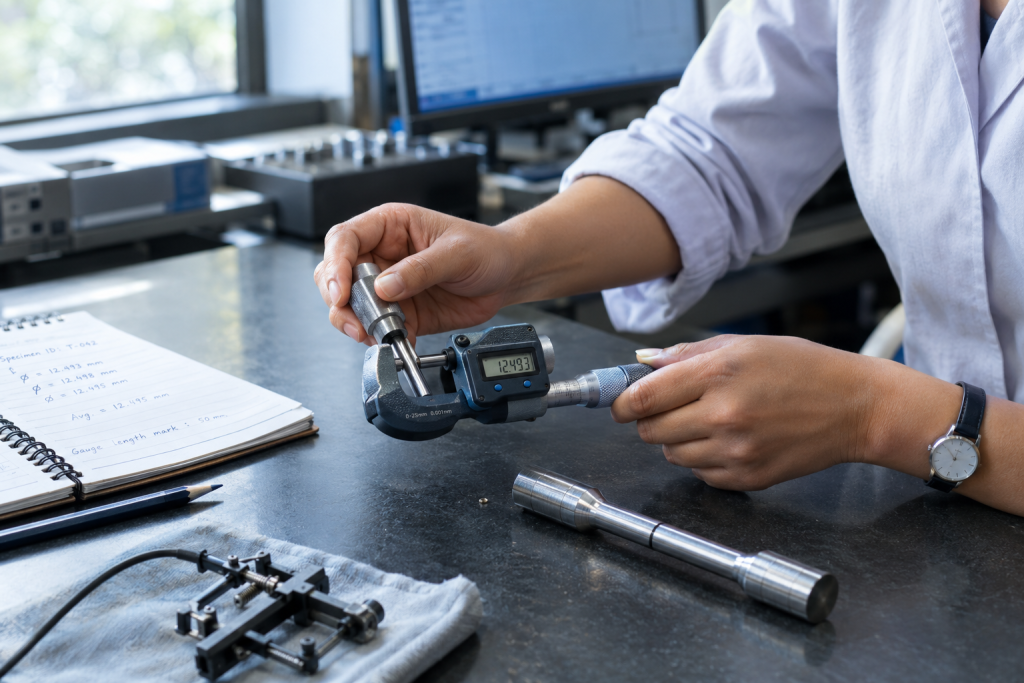
- Dimensions. Cross-sectional area drives every stress value. A 0.05 mm error on a thin sheet is a much larger percentage error than on a 12 mm bar.
- Gauge-length marking. Punch marks that are too deep can start a crack. Inconsistent marking distorts elongation.
- Orientation. Rolled or forged material behaves differently along and across the grain. Record it.
Measure the specimen at several points along the gauge length, not once at the middle, and use a calibrated micrometre or calliper.
2. Gripping and alignment
Even a well-made specimen will mislead you if it is loaded off-axis.
- Bending. Misaligned grips add a bending stress to the tensile stress. This is a classic cause of low strength and early failure, particularly in brittle or thin materials.
- Slippage. Worn jaw faces or incorrect grip pressure let the specimen creep in the grips and distort the early curve.
- Jaw breaks. Fracture near the grips usually means stress concentration from the gripping, not a true material result. Treat it as suspect.
- Grip choice. Wedge, hydraulic, pneumatic and sheet-specific grips each suit different materials. A grip that works for round bar may damage flat sheet.
Check the load train for concentricity periodically, and inspect jaw faces for wear before blaming the material.
3. Test speed
Metals are sensitive to rate. Faster loading generally raises measured yield strength, and results can shift noticeably if different operators use different speeds.
Standards such as ISO 6892-1 and ASTM E8/E8M define strain-rate or stress-rate ranges, and the controlling method matters. Whatever the standard says, set the speed in the method and lock it, rather than relying on manual adjustment.
4. Extensometer and strain measurement
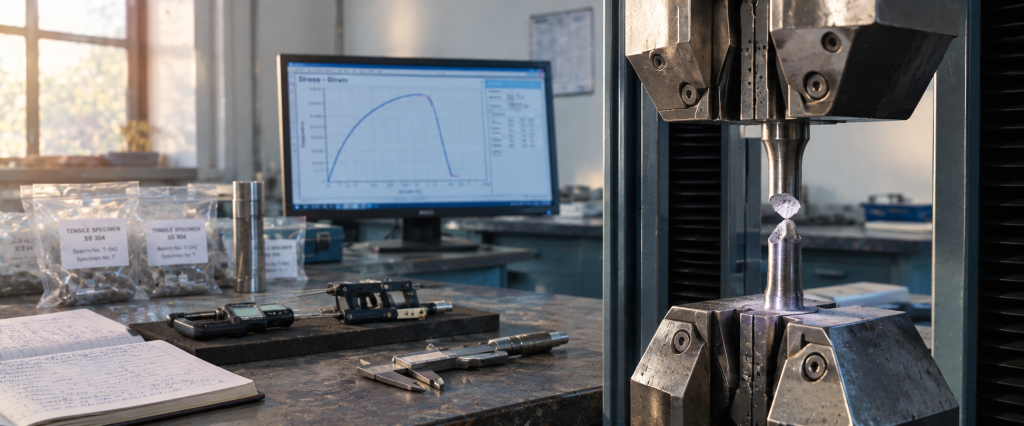
Strength values depend mostly on force and area. Yield, modulus and elongation depend on strain, and strain is where many laboratories are weakest.
- Crosshead displacement is not specimen strain. It includes machine and grip compliance, so it must not be used for modulus or proof stress.
- Knife edges that slip give a false curve.
- A damaged or uncalibrated extensometer gives errors in yield and elongation that no software setting can fix.
- Leaving the extensometer on past yield, when the standard allows removal, risks damaging it at fracture.
5. The force measurement chain
The load cell, amplifier and software must agree with a traceable reference.
- Verify the machine against standards such as ISO 7500-1 or ASTM E4, and extensometers against ISO 9513 or ASTM E83.
- Use the load cell within its verified range. Small specimens on a large-capacity cell can fall into the low end where relative error grows.
- Keep calibration certificates current and traceable to a recognized national laboratory.
6. Software and calculation
- Sampling rate that is too low can miss the true yield point.
- Different yield definitions (upper/lower yield, 0.2% proof offset) give different numbers. Confirm which one the specification requires.
- Elongation after fracture should be measured on the fitted broken pieces, or by a method the standard allows, not guessed from the curve.
Quick diagnostic table
| Symptom | Likely cause | First check |
|---|---|---|
| Low strength, early failure | Misalignment or bending | Alignment and grip seating |
| Fracture at the grips | Stress concentration | Grip type, pressure, specimen shape |
| Scattered yield values | Speed or strain-measurement variation | Test method settings, extensometer |
| Modulus far from expected | Using crosshead displacement | Extensometer use and attachment |
| Elongation inconsistent | Gauge marking or measurement method | Marking technique, fitting of pieces |
| Consistent offset vs another lab | Calibration or area measurement | Calibration records, micrometre |
A practical checklist before you repeat the test
- Is the specimen machined, finished and measured according to the standard?
- Are the grips clean, correctly sized and aligned?
- Is the test speed set by the method, not by the operator?
- Is the extensometer calibrated and attached correctly?
- Is the machine’s verification current and within range?
- Is the correct yield definition selected?
- Have you recorded the material orientation, temperature and operator?
The TESTWIN perspective
In day-to-day laboratory work, the problem is rarely a single dramatic fault. It is usually a small variation that nobody had a reason to question: a worn jaw, a speed set differently on a Tuesday, an extensometer overdue for verification. Our approach to commissioning and support is to help laboratories build consistent practice around the machine, so the second operator gets the same answer as the first.
Frequently Asked Questions
Why do my tensile results vary between operators?
Usually because of differences in specimen handling, gripping, speed settings or extensometer attachment. Fixing these in a written method removes most of the variation.
Can a tensile machine be calibrated yet still give wrong results?
Yes. Calibration confirms the machine’s force accuracy. It does not catch poor specimens, misalignment, wrong speed or incorrect calculation settings.
Is a jaw break always invalid?
Not automatically, but many standards and customers treat it as questionable. Record it, and repeat the test if the result is near a specification limit.
How often should a universal testing machine be verified?
Commonly once a year, or as your accreditation body and quality system require. Verify sooner after relocation, repair or any overload event.
Is crosshead displacement good enough for elongation?
Only for rough indication. For accurate yield, modulus and elongation, use a suitable extensometer.
Conclusion
A wrong tensile result is rarely a mystery. It is usually traceable to the specimen, the setup, the speed, the strain measurement or the force chain. Work through them in that order, and most problems reveal themselves before you need to question the material.
Final Word
Precision doesn’t start when the test begins. It starts with confidence in the measurement system behind it.
Calibration lays the foundation. Reliable testing needs the rest too: the right equipment, sound procedures, trained operators, consistent maintenance, and traceable records.
For labs serious about their results, calibration isn’t the last step before the report goes out. It’s built into the test from the start.
Explore the TESTWIN Engineering Insights series for practical guidance on testing machines, laboratory practice, measurement reliability and material testing.